Hosting with NearlyFreeSpeech & connecting it to your custom domain name
Setting up your own hosting on NearlyFreeSpeech
Here is an overview of what we're going to do (specific to NearlyFreeSpeech):
Steps:
- Create or log into your account at nearlyfreespeech.net (NFS)
- Set up a new site inside your NFS account
- Connect to your new NFS hosting and upload something via SFTP with Cyberduck as a test
- Test that the hosting works on the temporary URL given from NFS
So let's get into it...
1. Create or log into your account at nearlyfreespeech.net (NFS)
First, navigate to 🤝🖥 nearlyfreespeech.net and click "Sign Up Now."

Follow steps 1–4.

Regarding step 4, funding your account — we recommend depositing around $20, but you can deposit less and try it out for a while. If the money runs out, your website will go offline. Nearlyfreespeech.net will email you when you're getting close to this limit.)
2. Set up a new site inside your NFS account
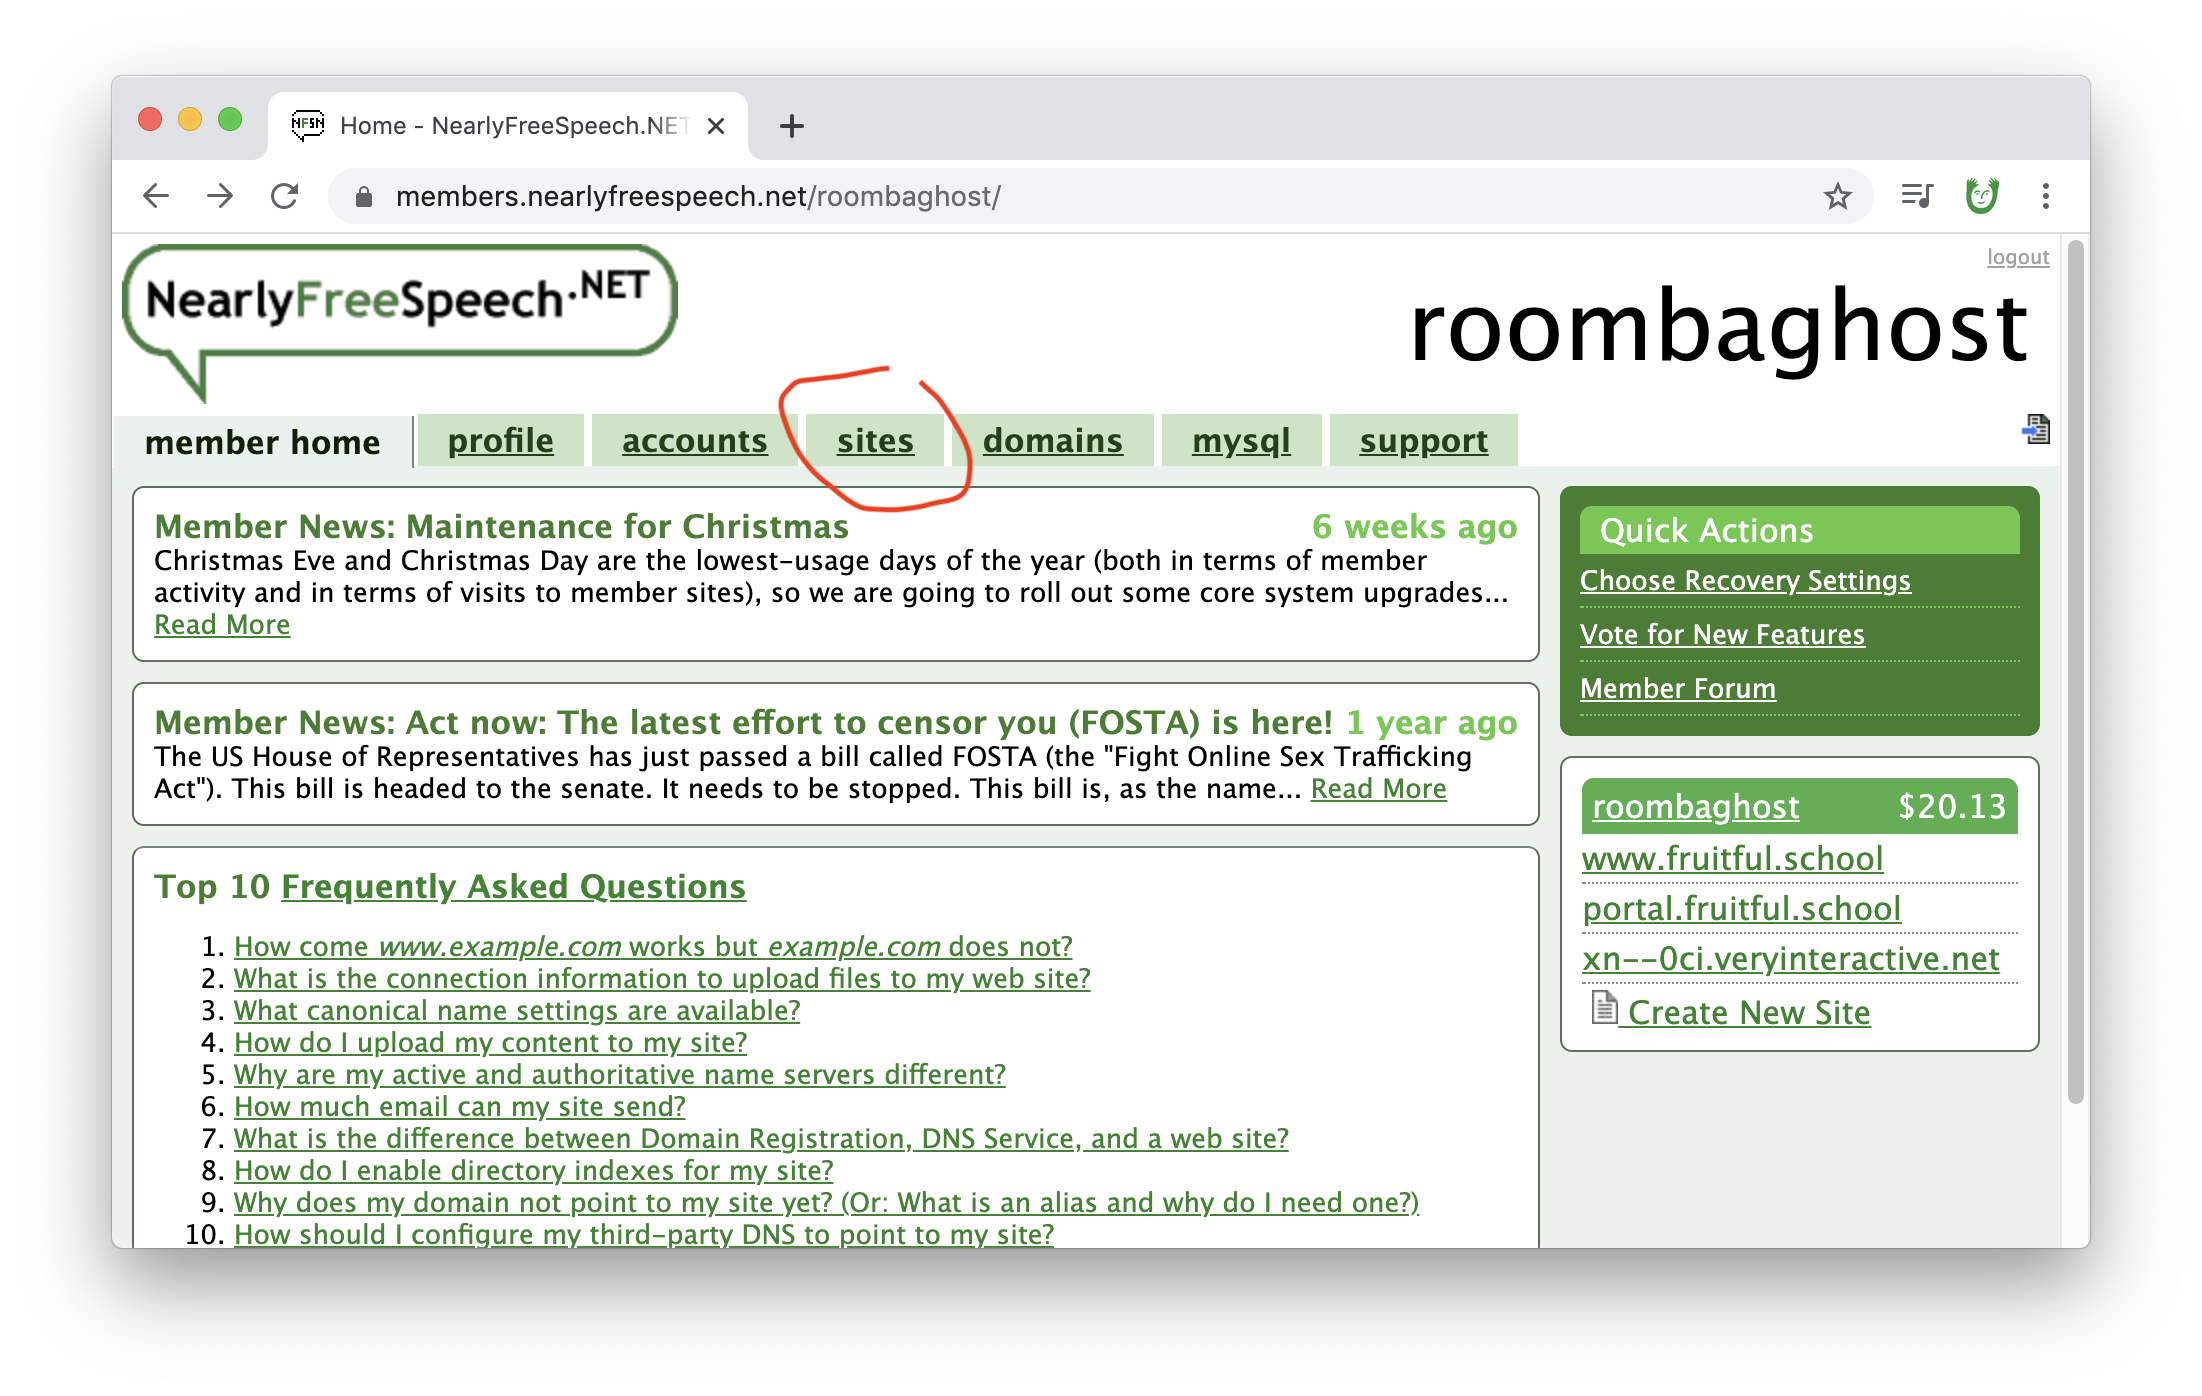
Next, let's set up your website. Click on the "sites" tab...
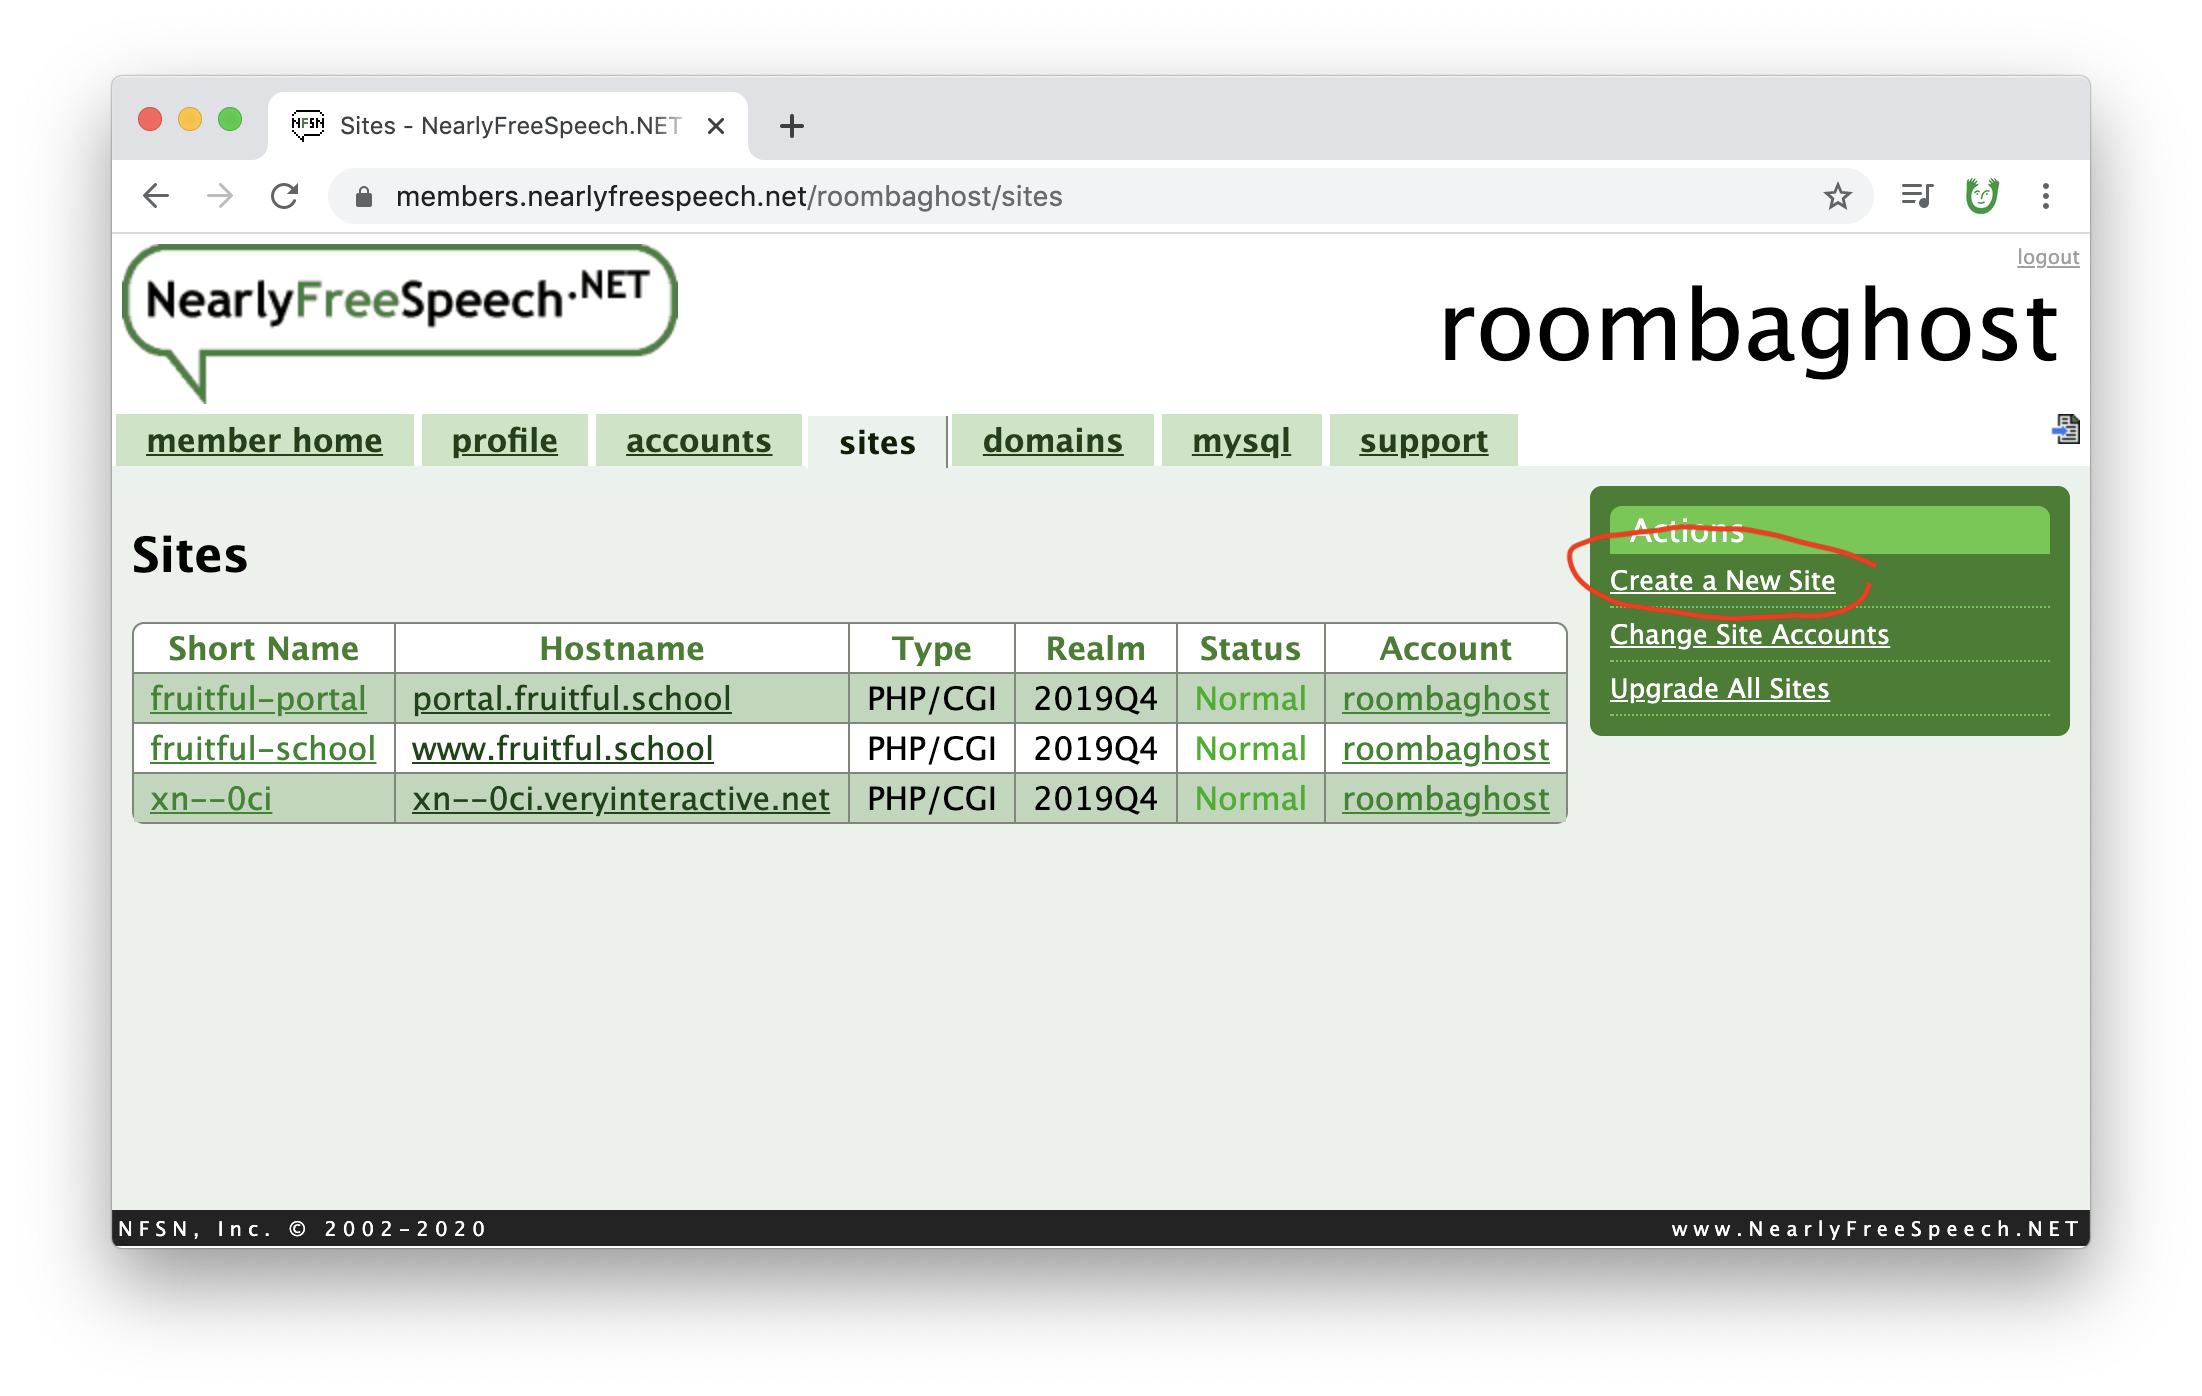
And click "Create a new site" on the right...
Type in a "site short name". This is kind of like an alias for your site.
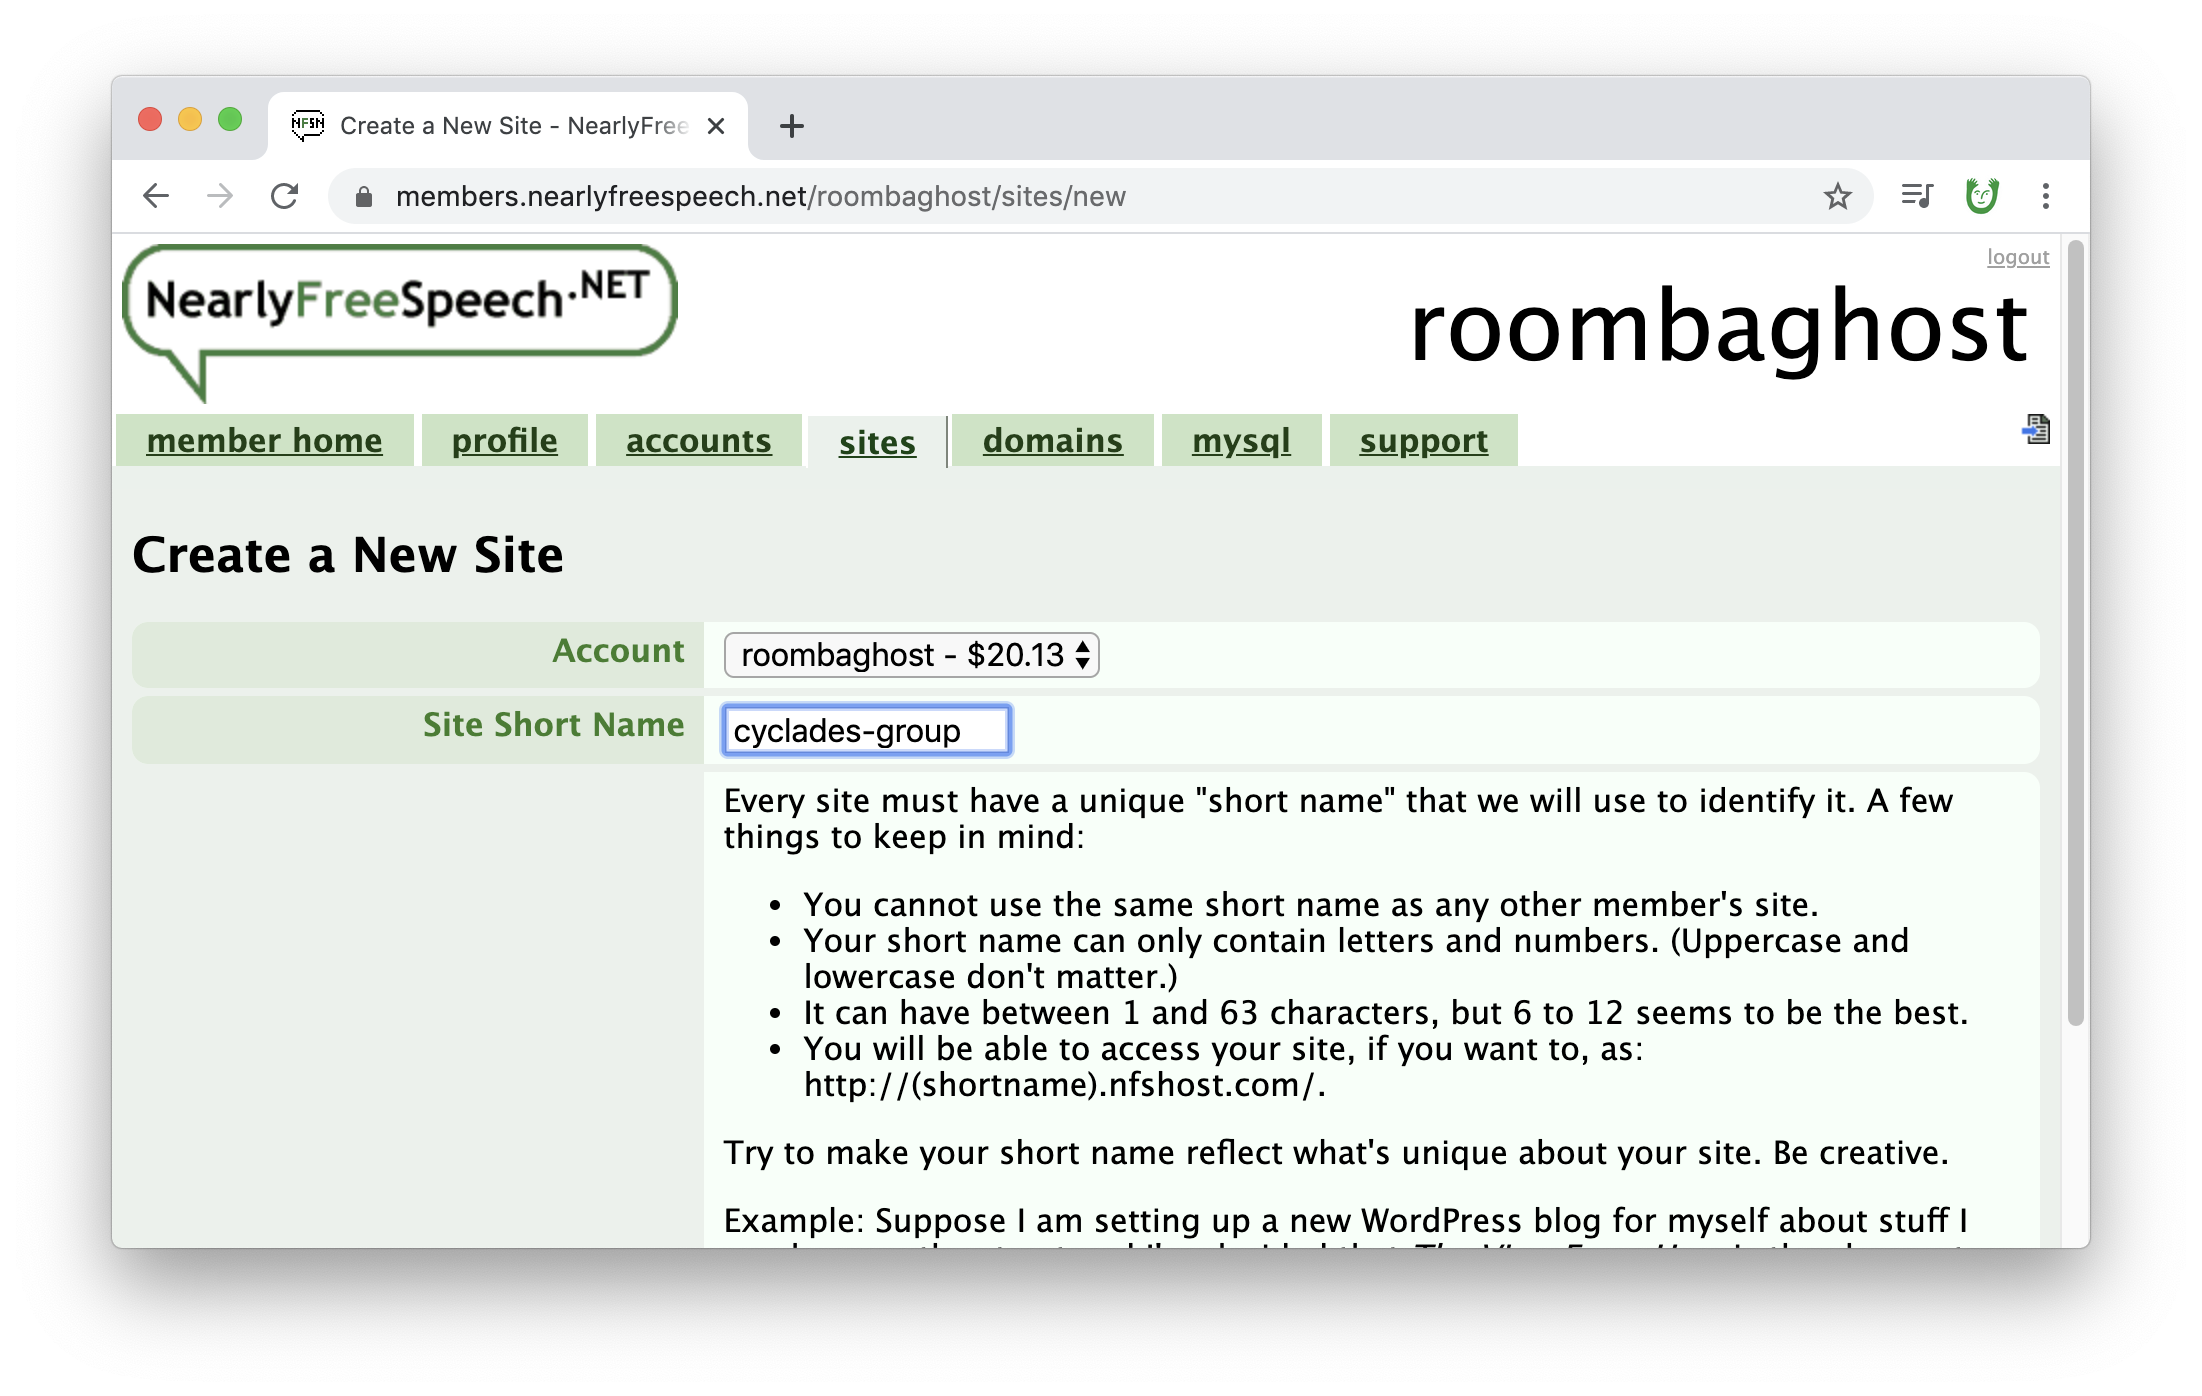
Then click "Next".
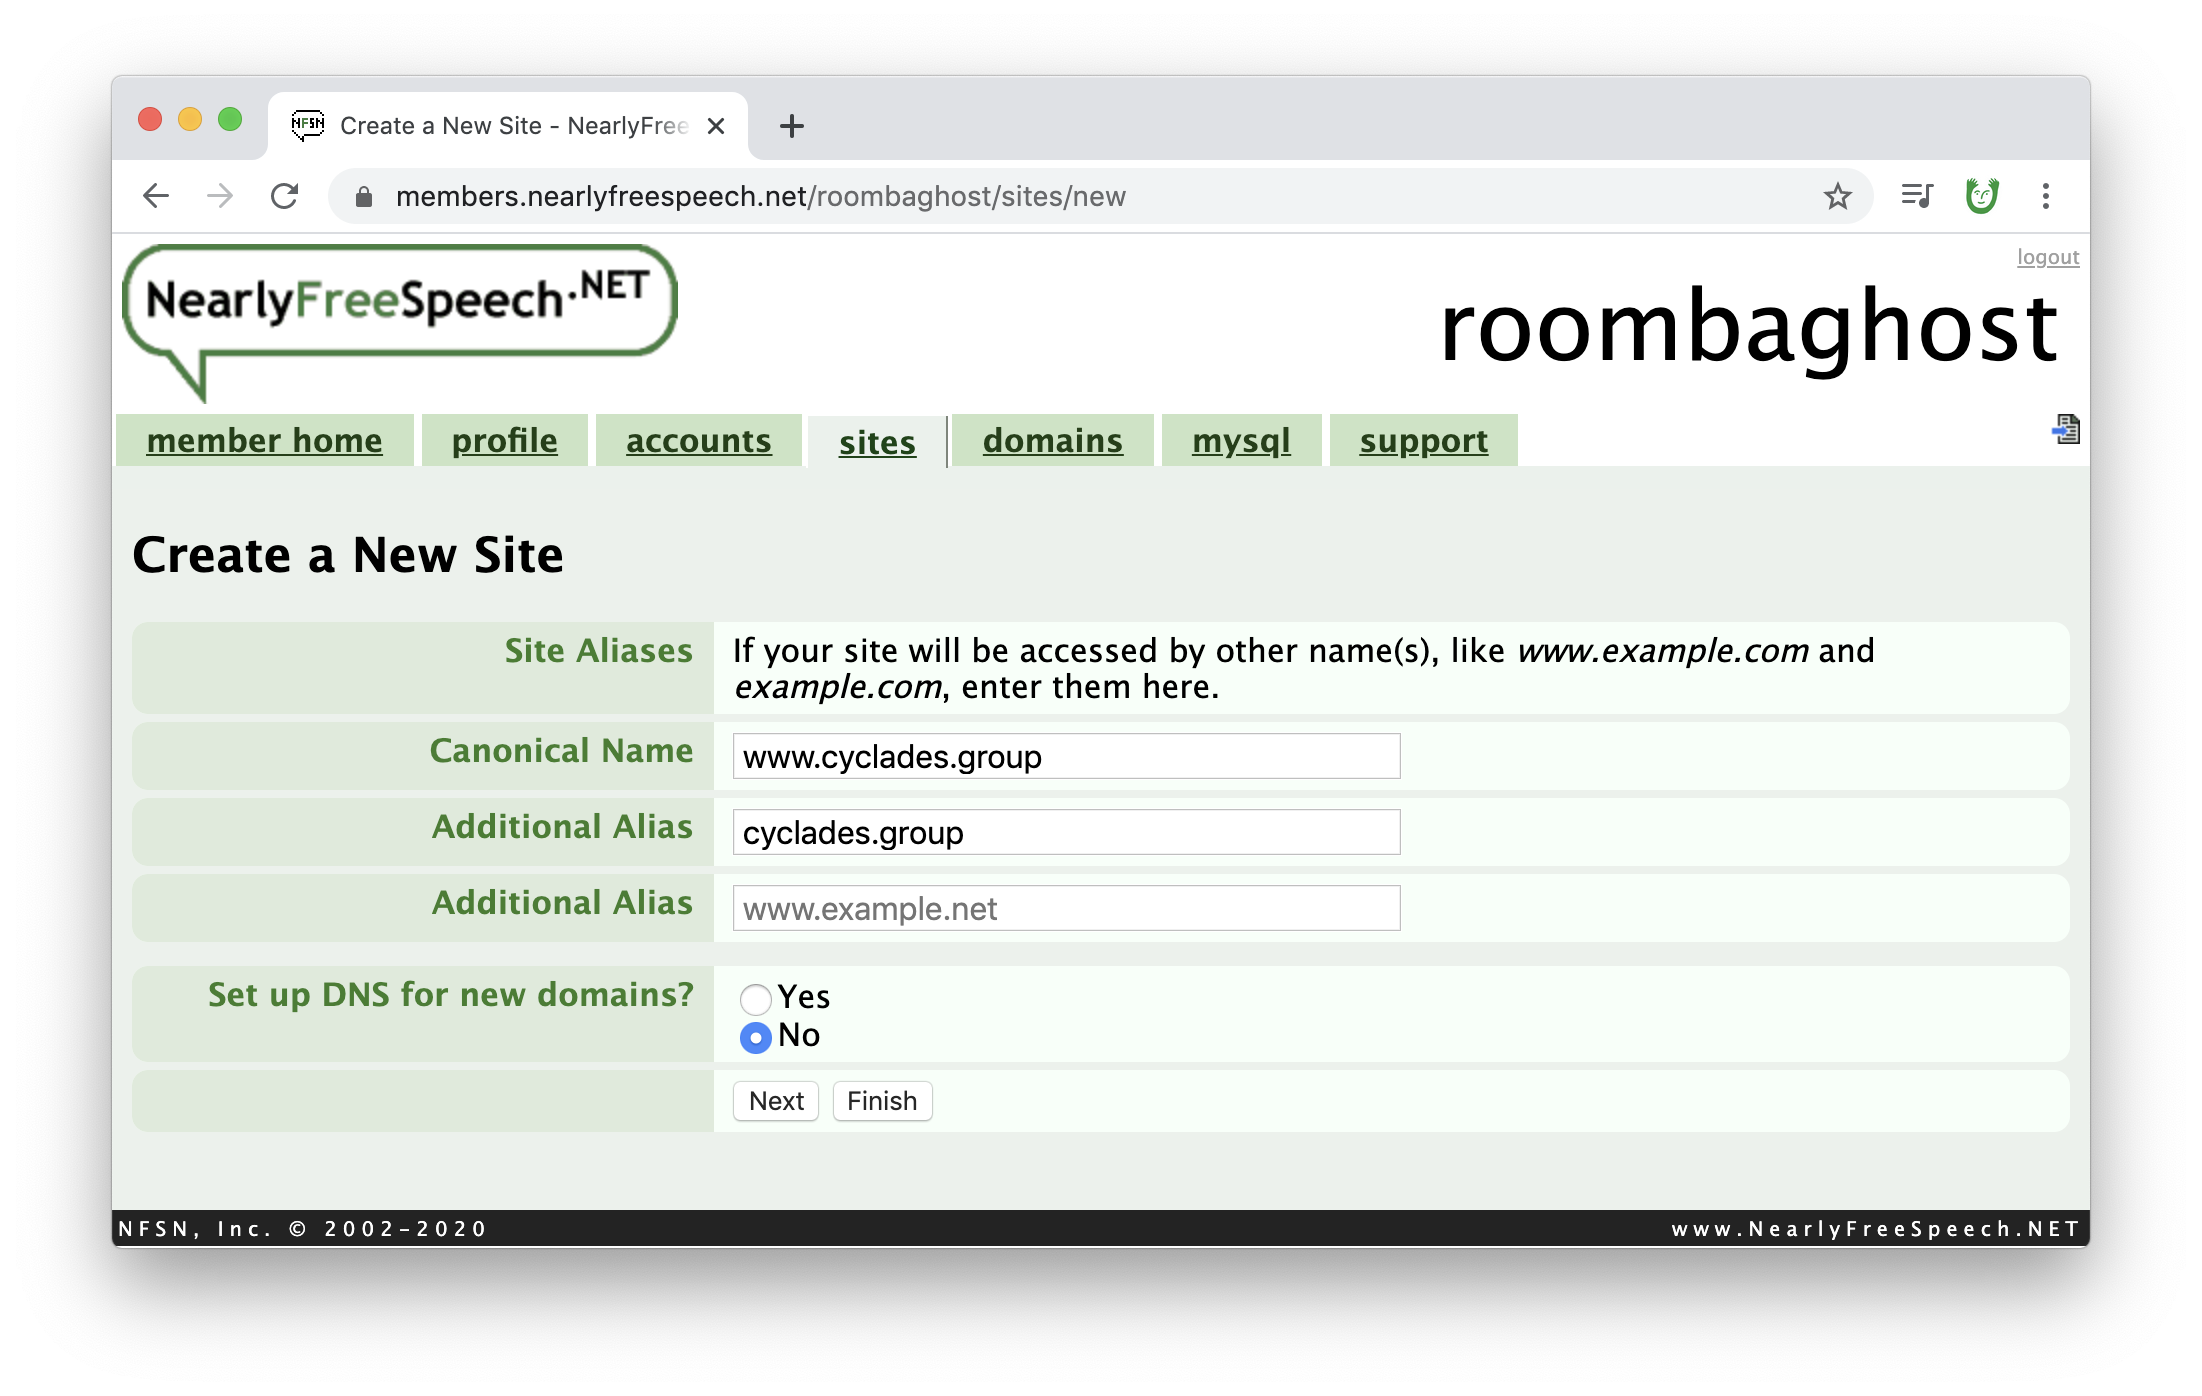
On the following screen, add a canonical name and an additional alias. These should be your domain name (that you purchased just before) with and without the www part. Select "No" for setting up DNS. Next...
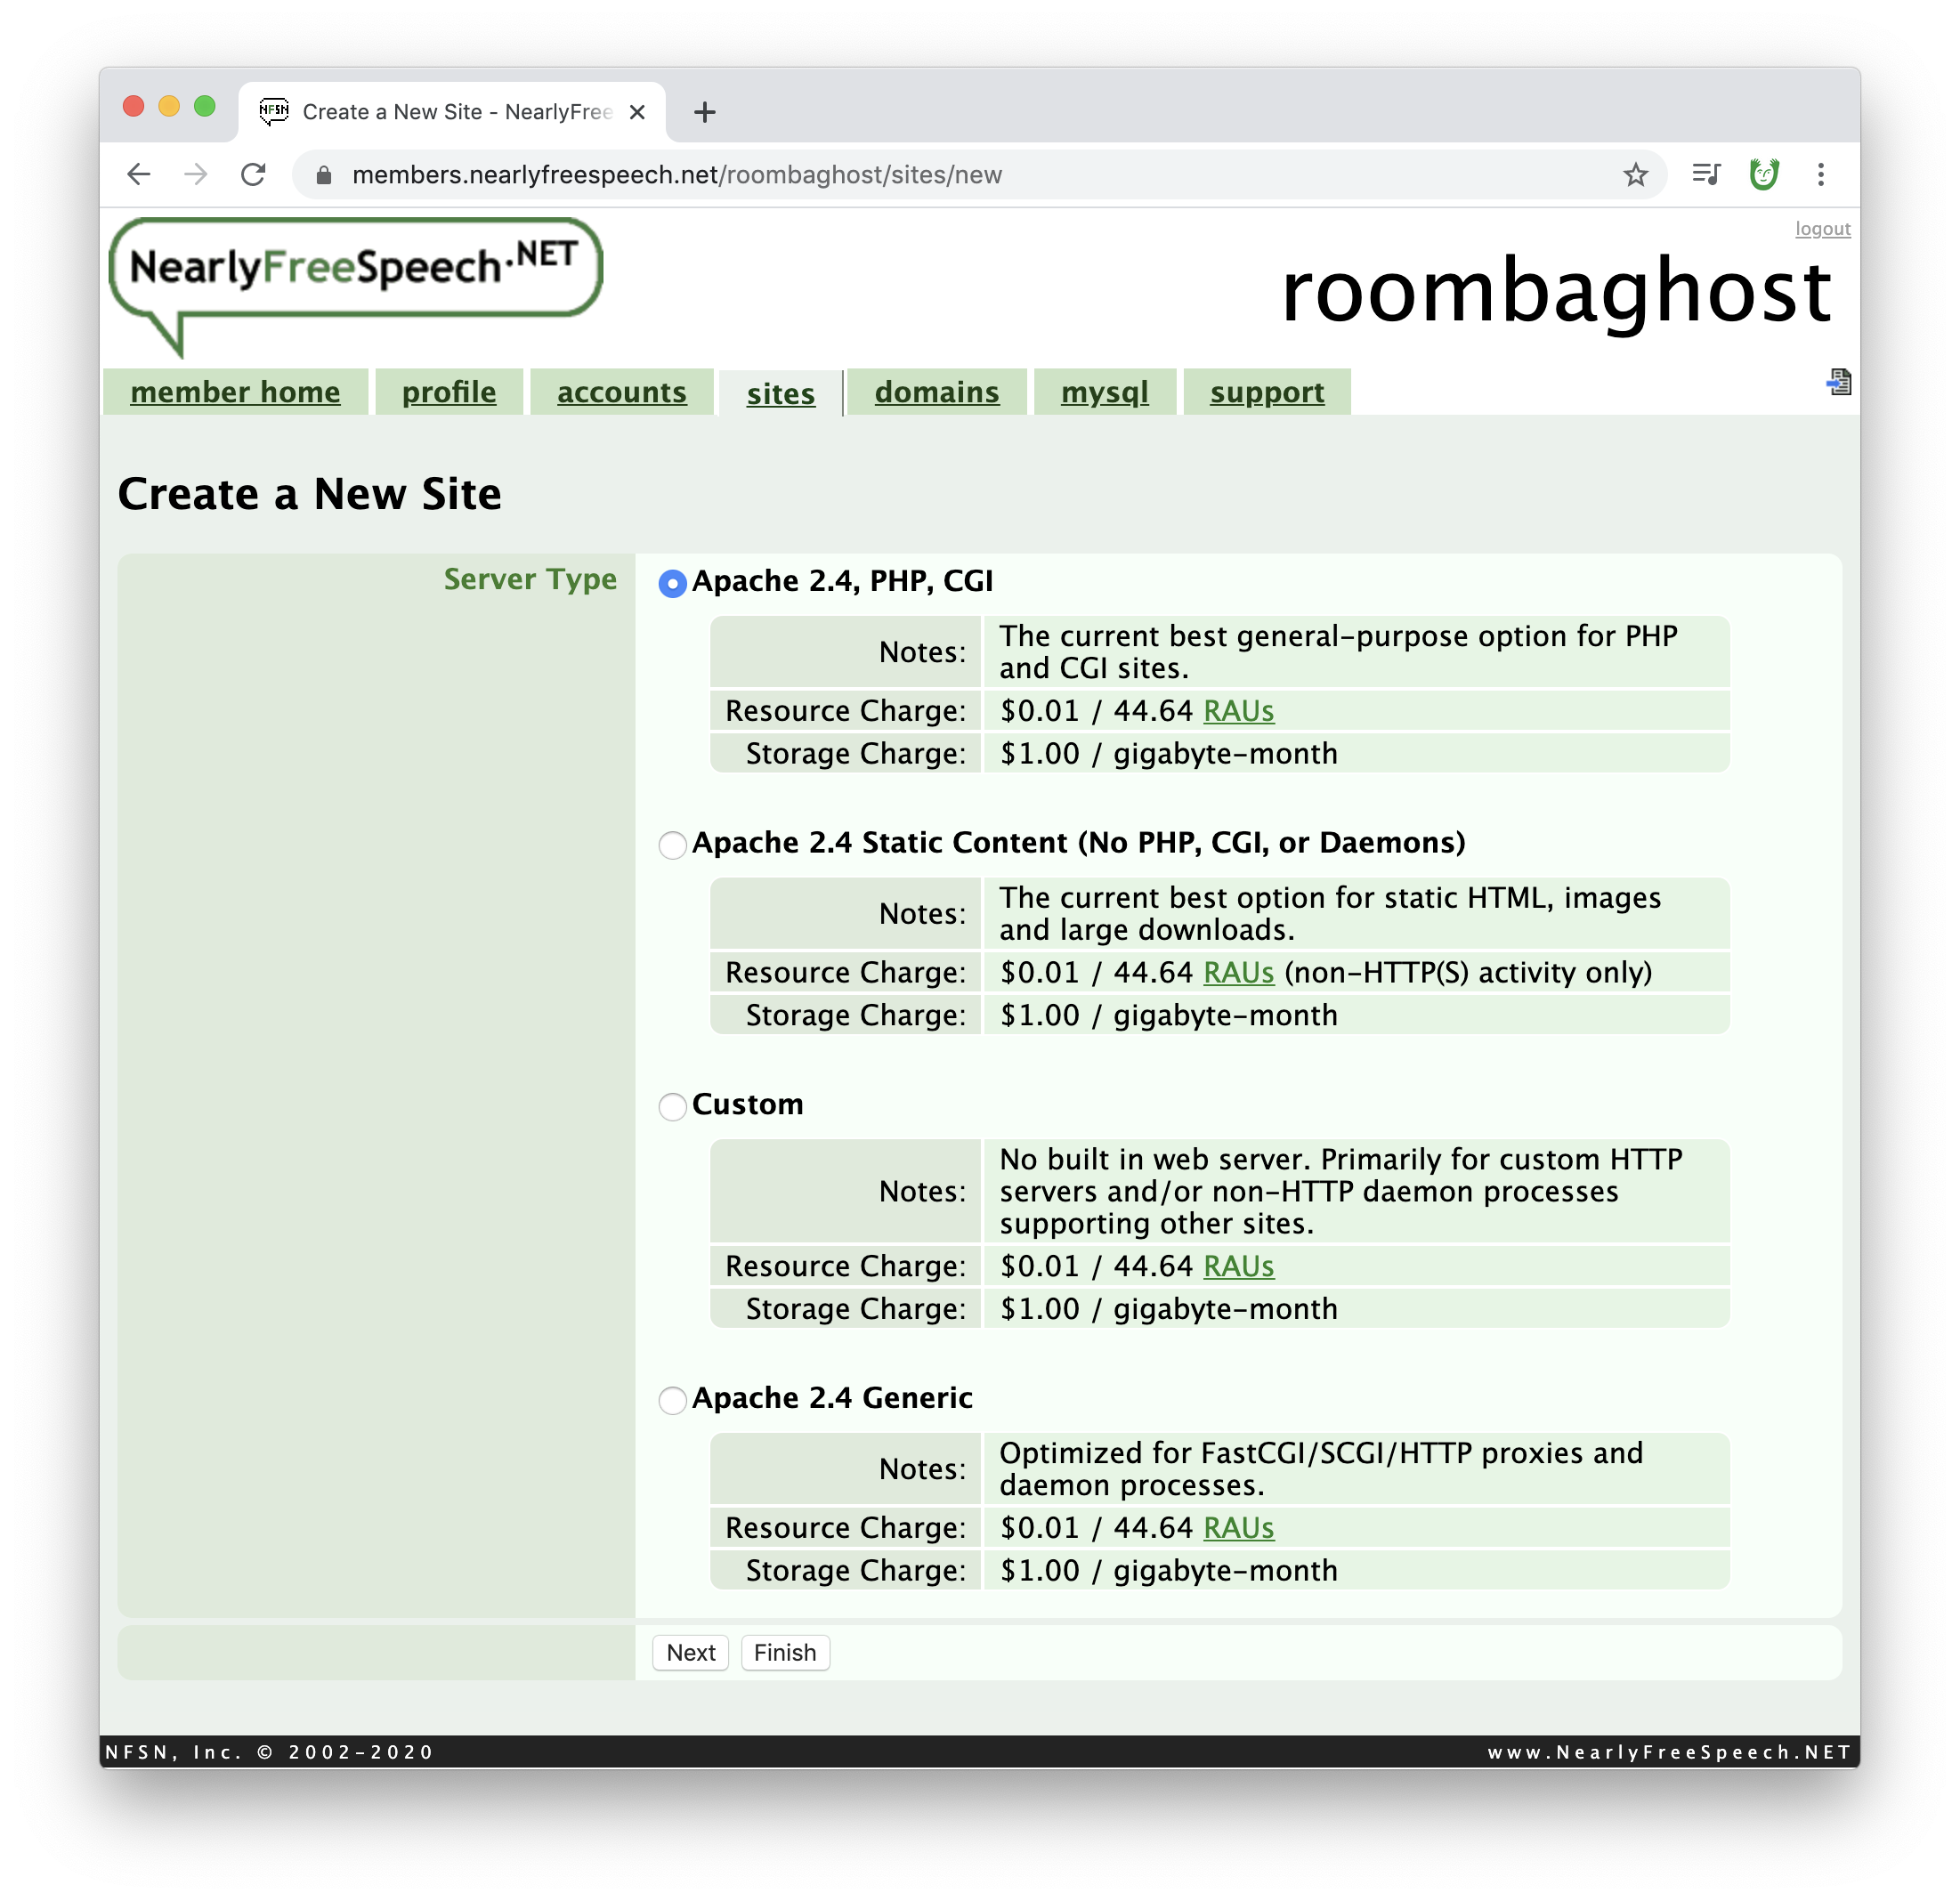
Choose the default Server Type, the first one (Apache 2.4, PHP, CGI).
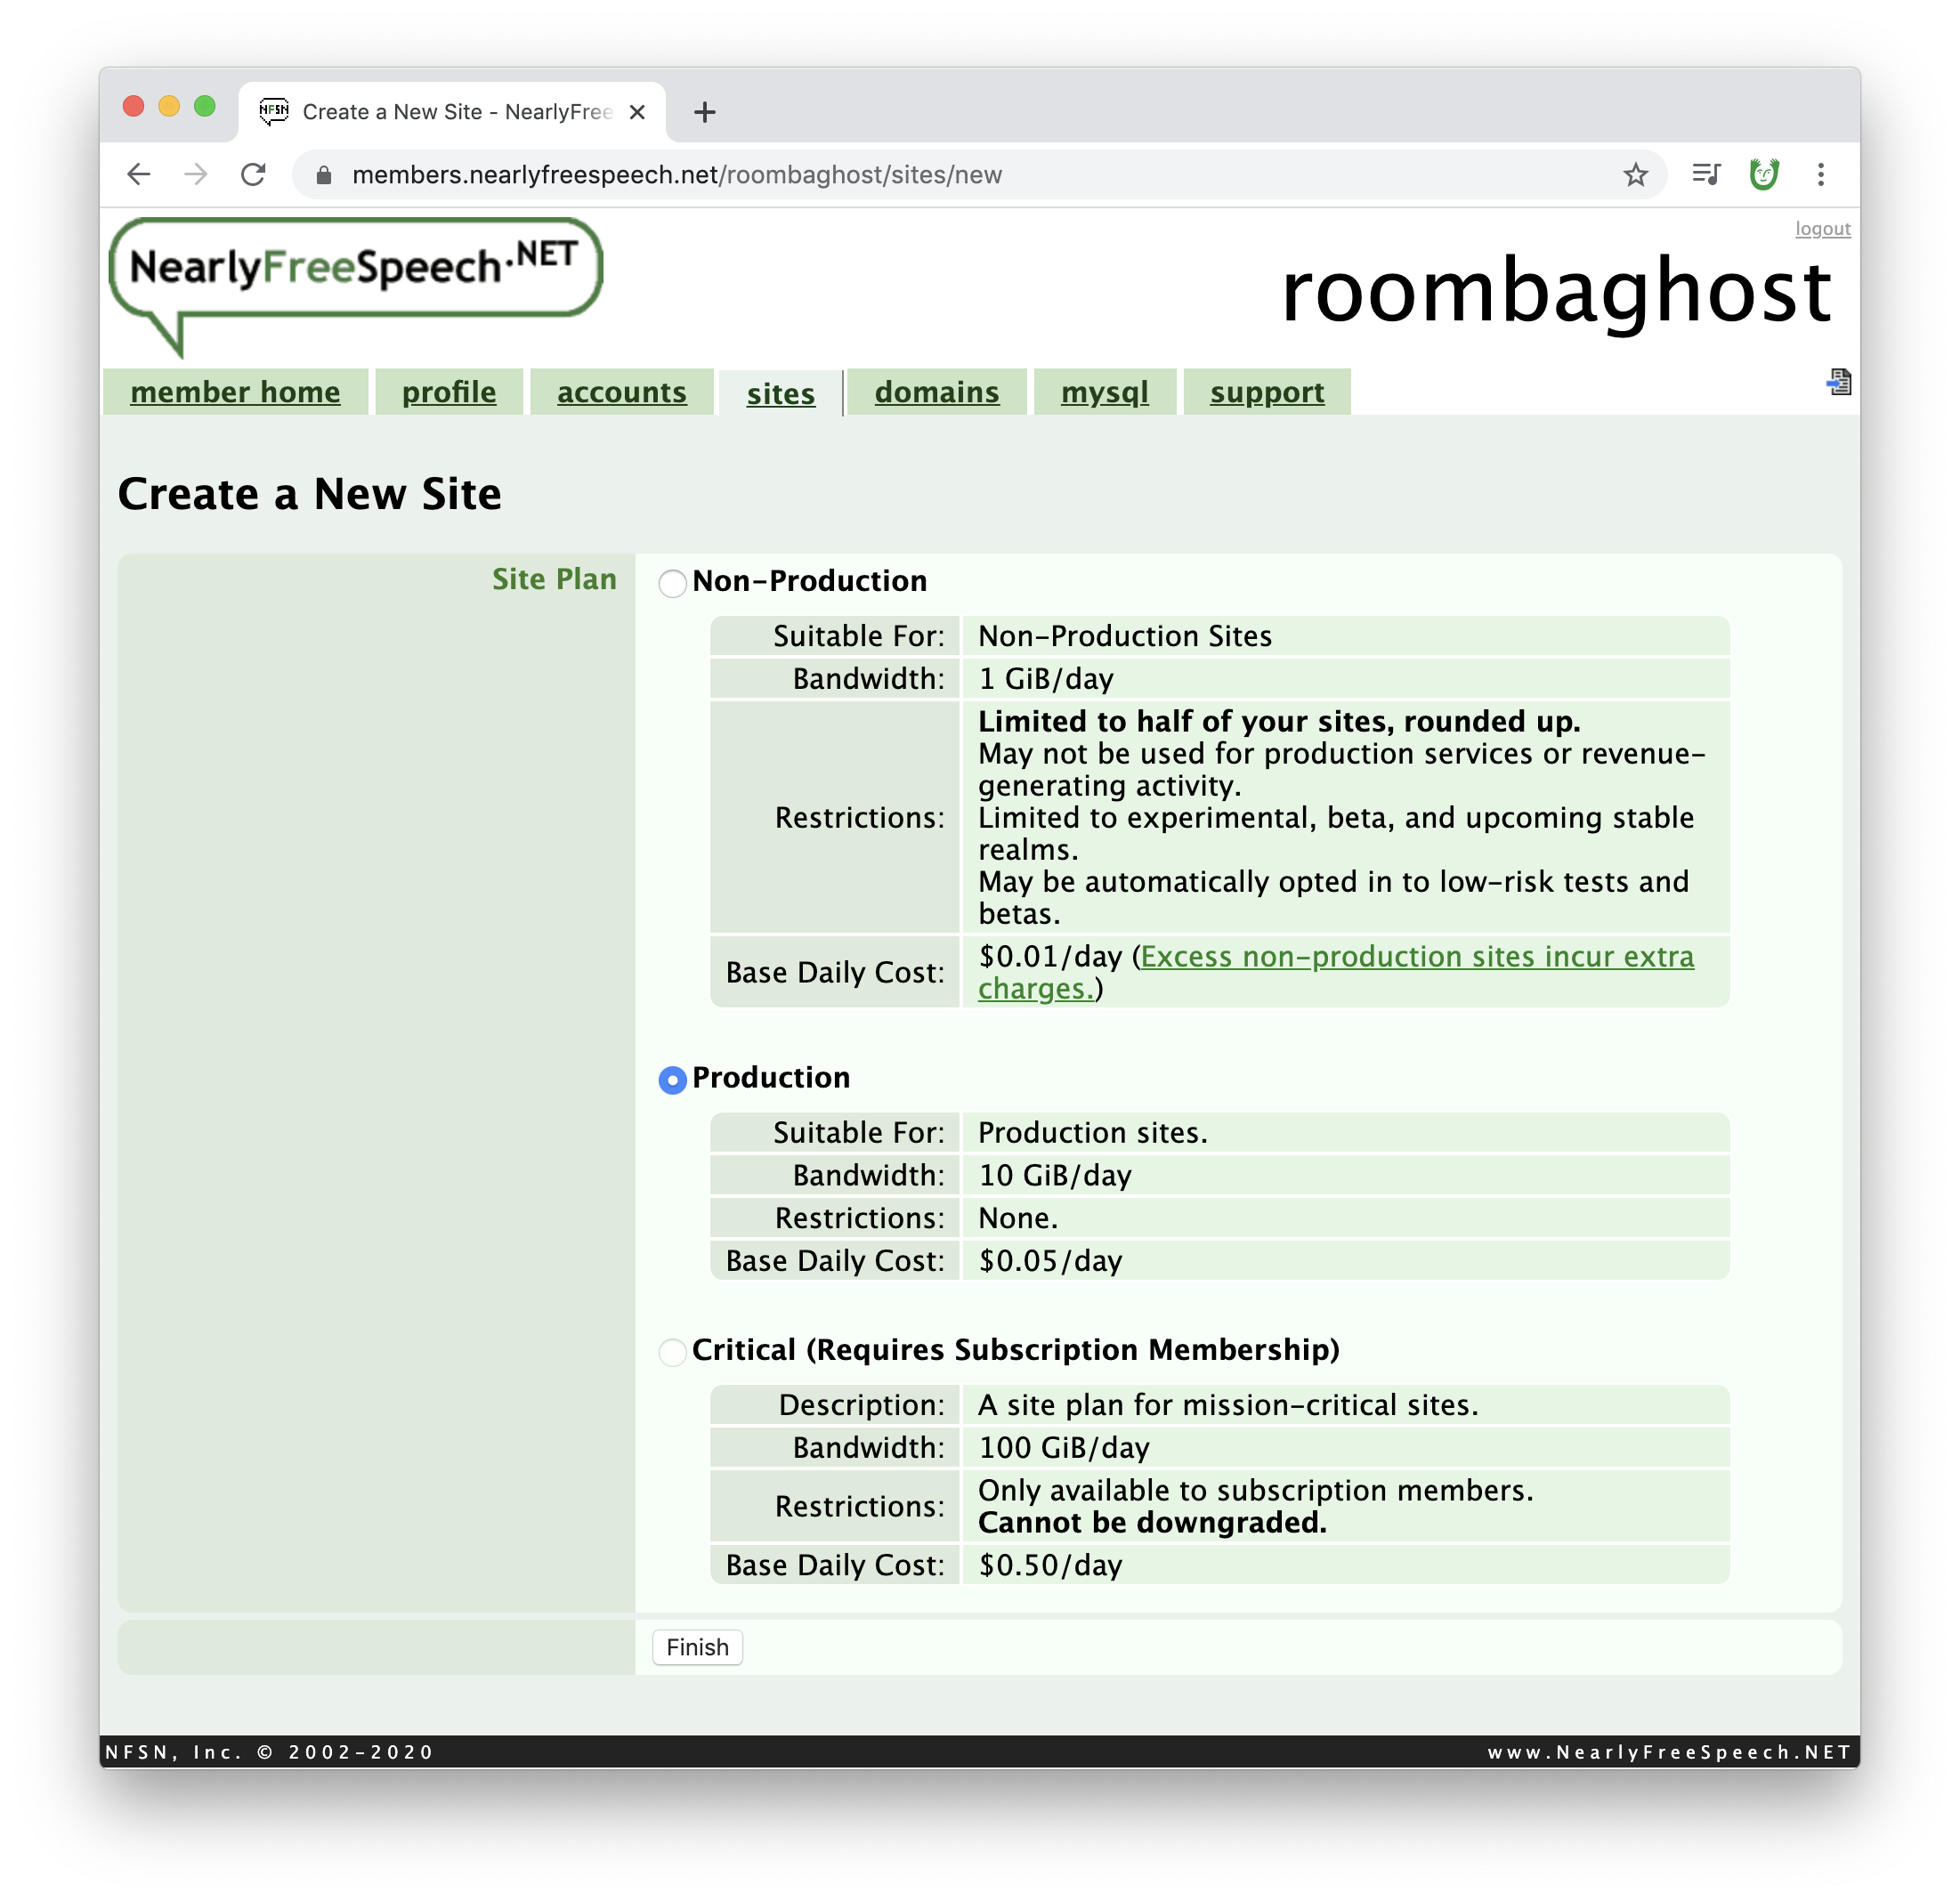
Choose the default Site Plan, the "Production".
Note: Likely many of you you could instead choose "Non-Production" which is a little cheaper. But we recommend "Production" in case any of your sites get a lot of traffic since the bandwidth limit is a little higher.
Click "Finish"!
Finally, you should end up at this dashboard page about the site you just created!

This "site dashboard" is a helfpul page. We will come back to it in future steps. The areas we'll reference later include: "Site Names & Aliases", "SSH/SFTP Information", and "IP Address". Keep these handy for later...
3. Connect to your new NFS hosting and upload something via SFTP with Cyberduck as a test
Now let's connect to this host using SFTP with our FTP client, 🦆 Cyberduck...
Open up 🦆 Cyberduck
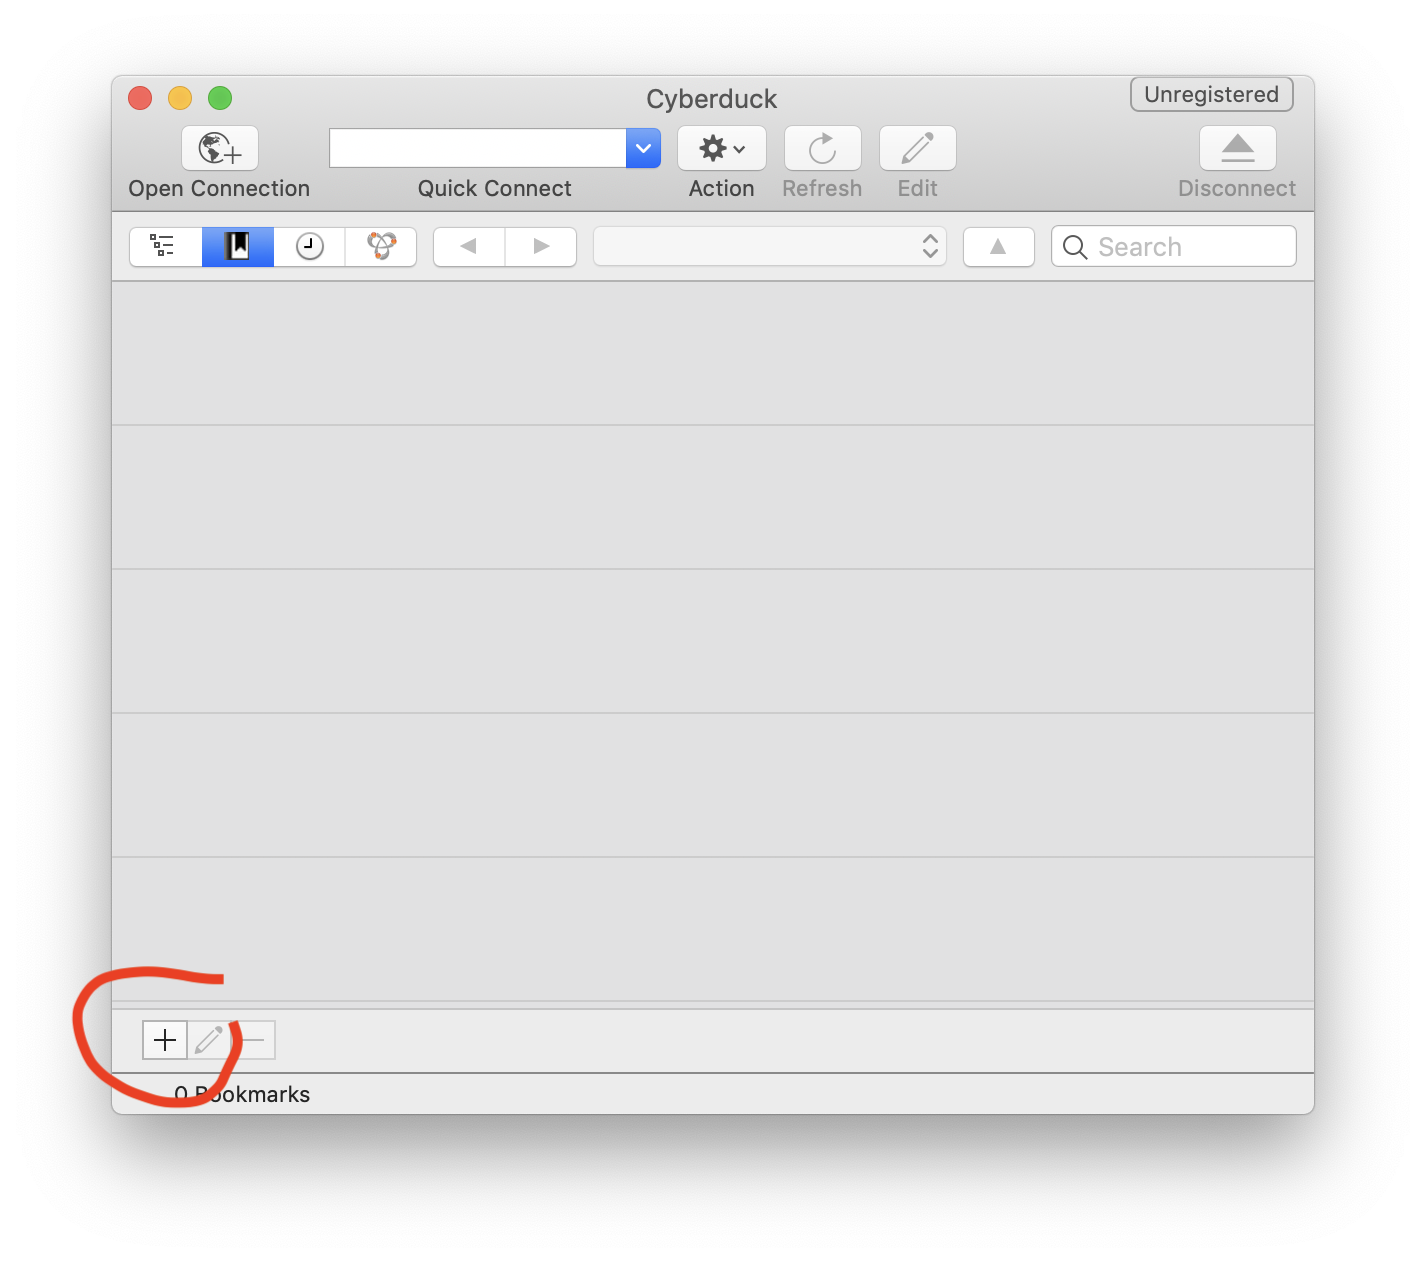
Click the "+" button in the lower left corner
Change the upper dropdown to say "SFTP (SSH File Transfer Protocol)." (Make sure to do this, if you select normal "FTP" it won't work.)
You can fill in the nickname to be your site's title
Find that "SSH/SFTP information" from nearlyfreespeech.net...

Copy over the information into Cyberduck. Your password should be your account password for nearlyfreespeech.net.

There is no "Done" button, so just press the red circle to close in the upper left corner.
You should now see that you added a bookmark to your 🦆 Cyberduck home. You'll see your site's nickname there. Double click on it to open...
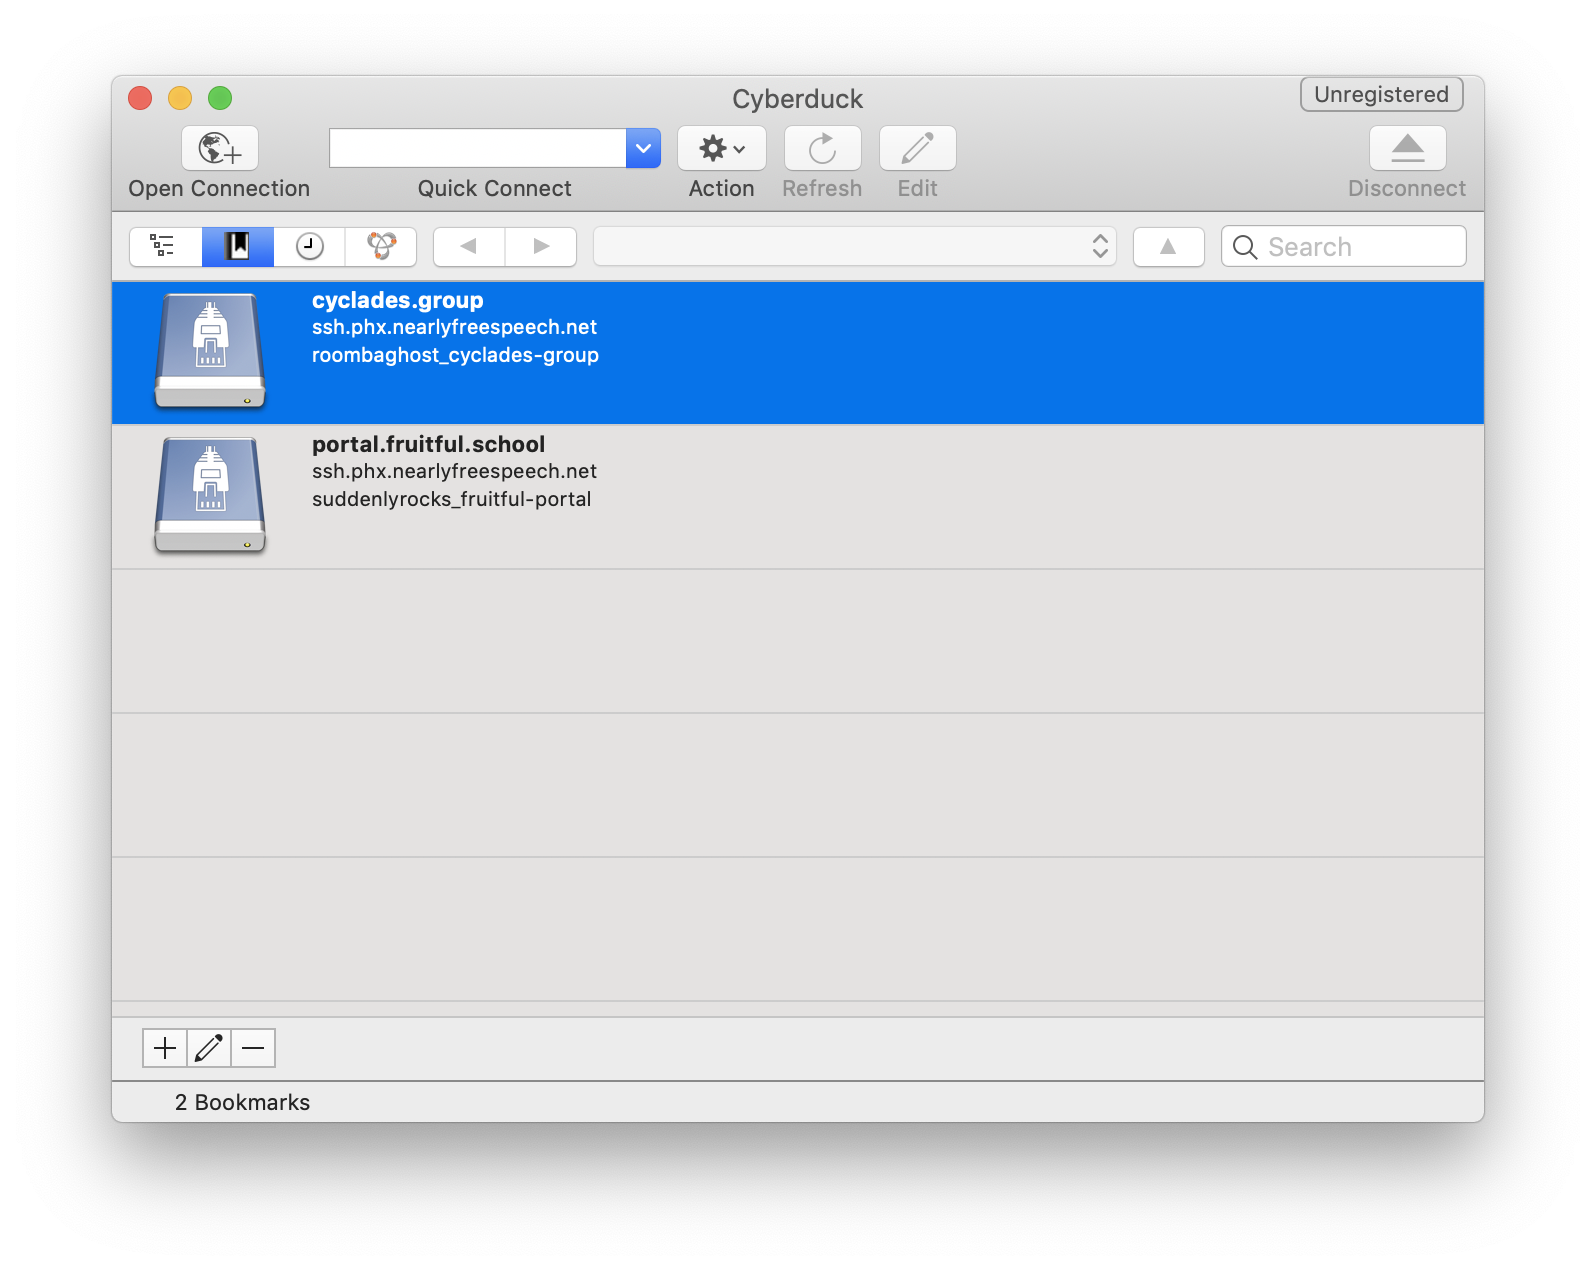
You should see an empty area because there are no files here yet.
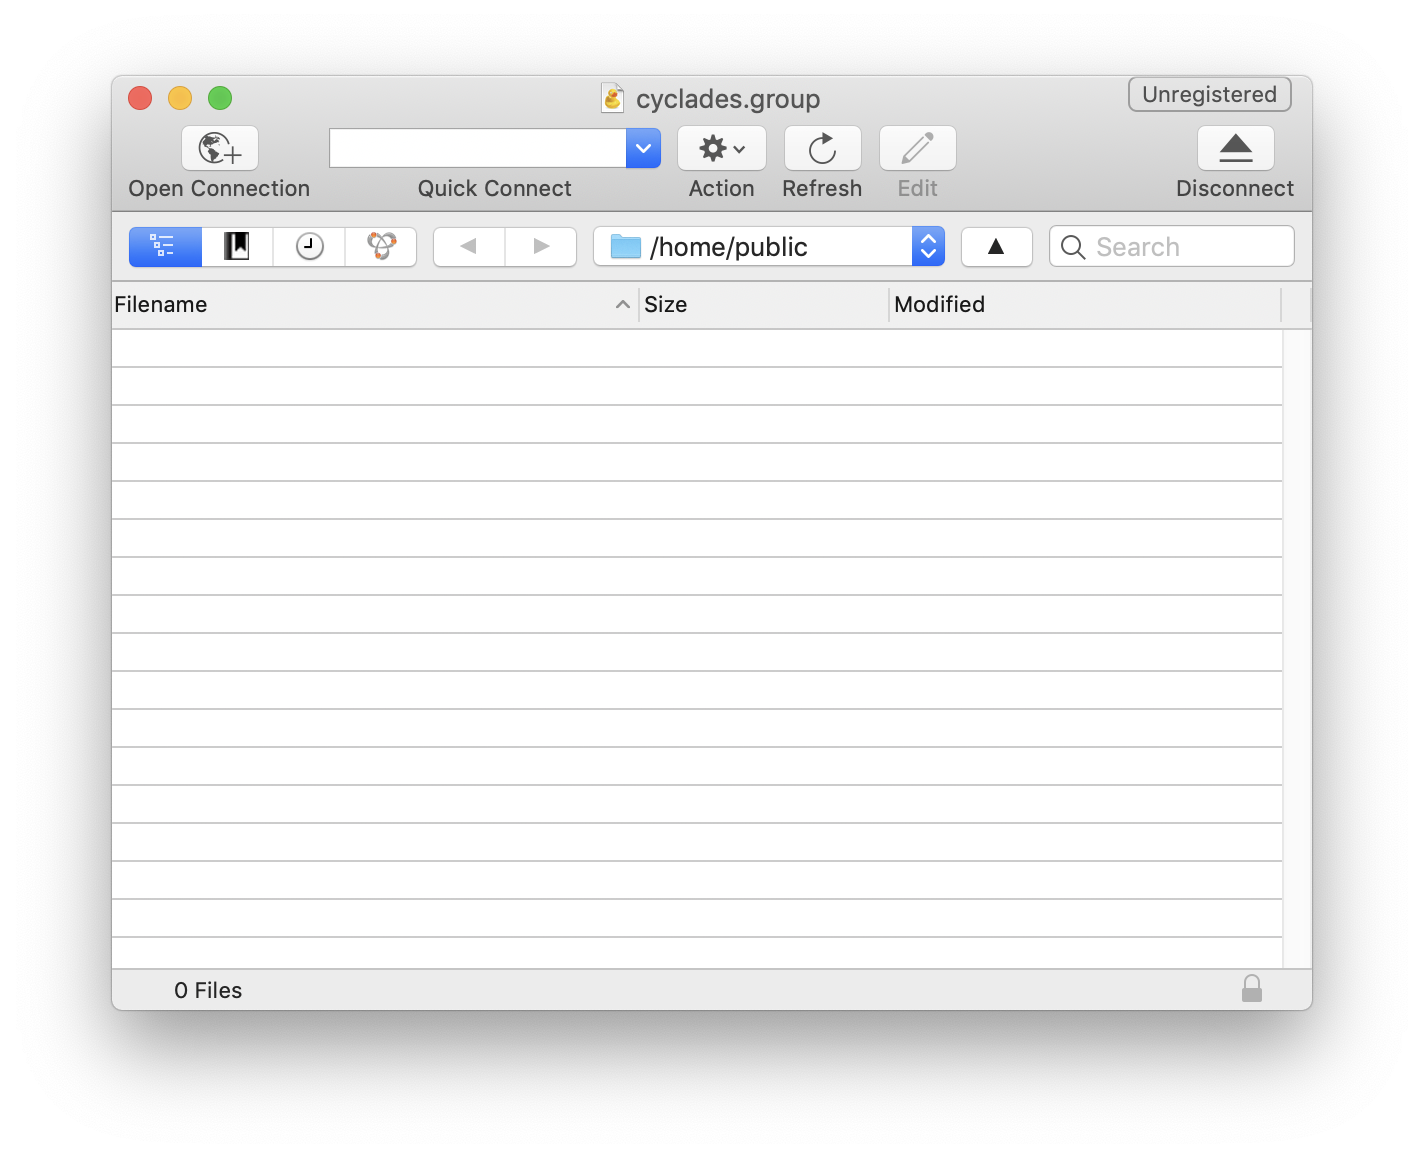
Try creating a new file in your text editor called index.html, as a test...
<!DOCTYPE html>
<html>
  <head>
	<title>Testing 123</title>
	<meta name="viewport" content="width=device-width,initial-scale=1.0">
	<meta charset="utf-8">
  </head>
  <body>
	Hello worlds
  </body>
</html>
...and drag it over to Cyberduck.
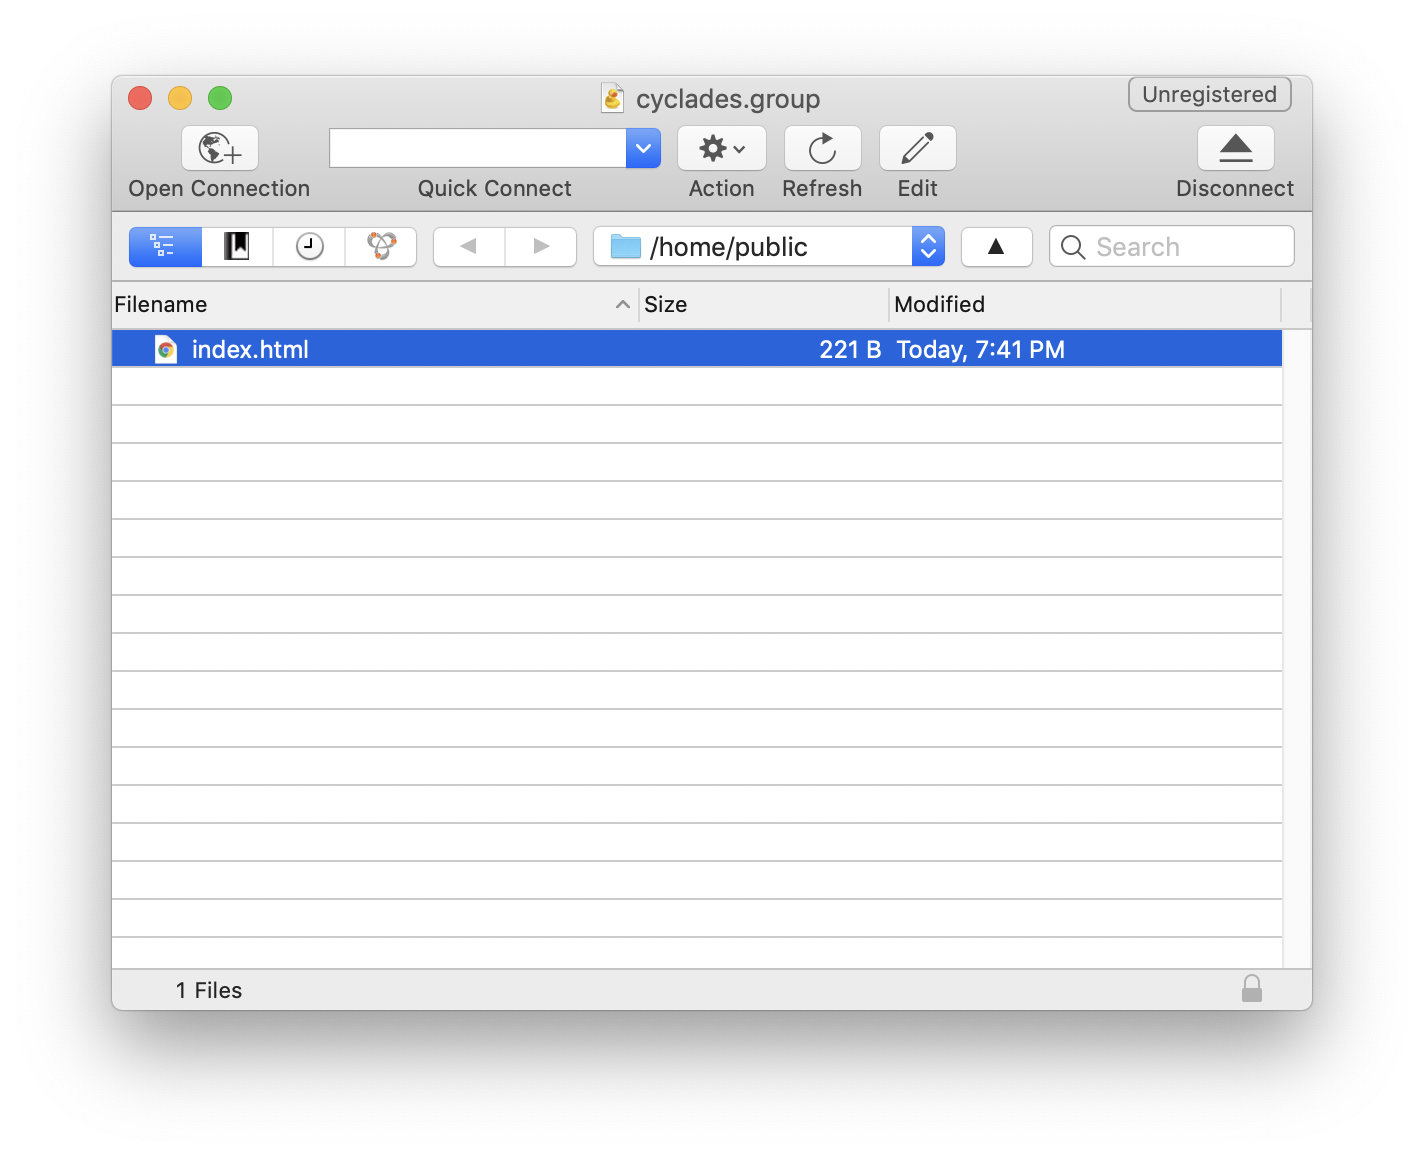
You have now uploaded index.html to your server.
4. Test that the hosting works on the temp URL given from NFS
Finally, let's test that it is online.
On your site's dashboard page on nearlyfreespeech, find your "Permanent Site Alias", which should be
http://(your site's short name goes here).nfshost.com
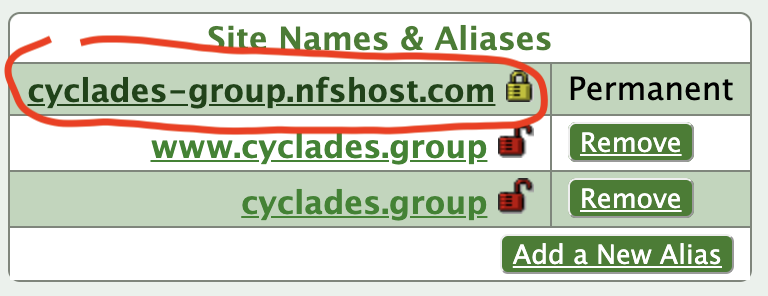

It works!
Now, hosting is set up. Let's connect this hosting to your custom domain name...
Connecting your hosting to your custom domain name
Now that you have hosting set up, let's connect your custom domain to it...
This is what we'll do in the steps below:
- Add "A" records to your domain name registrar with the IP of your host as the answer
- Test that your real domain name works
1. Connect domain to hosting on NearlyFreeSpeech
On your site's dashboard page on nearlyfreespeech.net, copy your site's top IP address at the very bottom of the page. Keep it handy for this next part...
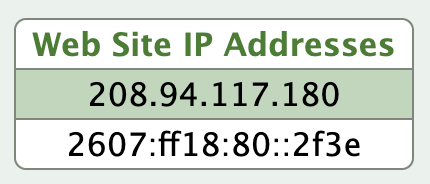
My site's IP is:
208.94.117.180
Then navigate back to name.com, and click on "My Domains"...

Find the domain you just purchased, click on it.
Once you're on its page, click "Manage DNS"...

Once you're here, you'll want to add two "A" records. Each one's answer should be your IP address from nearlyfreespeech. One should have the "Host" area as "www".


Click "Add Record" for each.
2. Test that your real domain name works
Now, wait a moment, and navigate to your domain name. In my case, it's http://cyclades.group. It works! Now you can drag and drop your site's real files into 🦆 Cyberduck to publish your full site.
If it's helpful, I created a video with all these steps above a few years ago: https://youtu.be/xVS6ijY6SFM. (Note: This video uses FTP, but I would recommend you use SFTP.)